View Complete List of Industrial & Concrete Sprayers
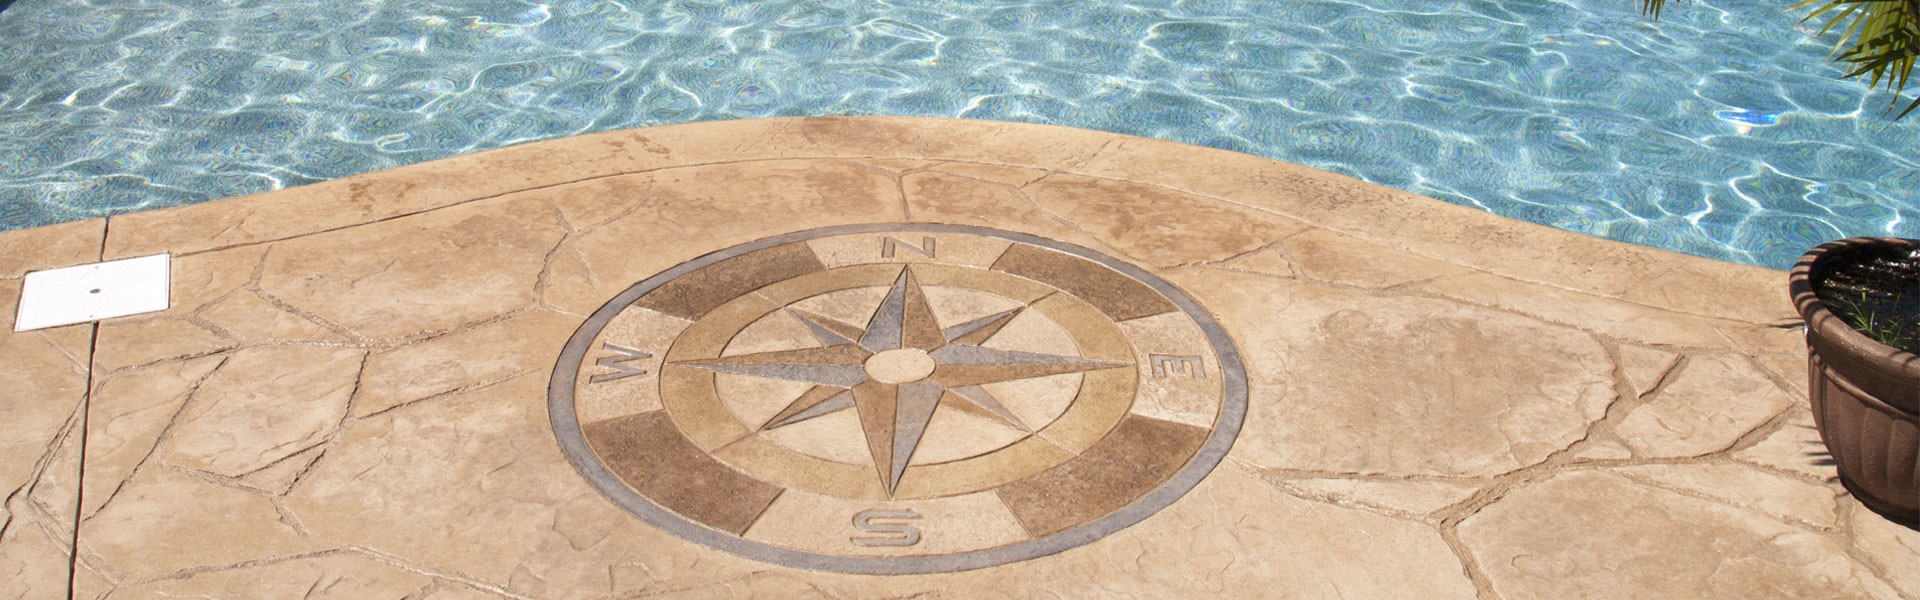
Sealing, curing, etching

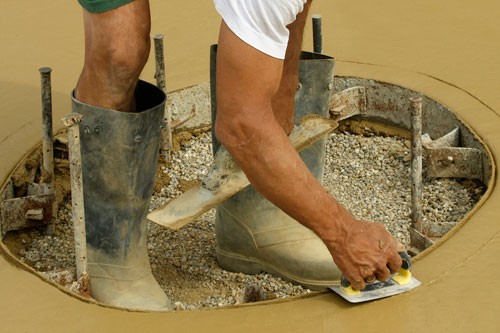
Staining, etching
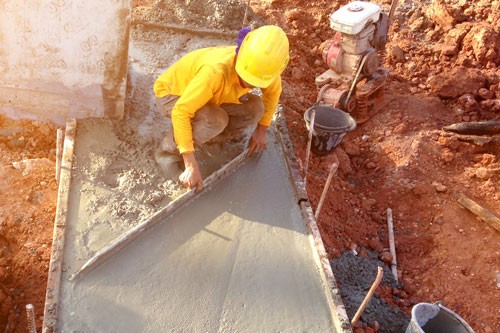
Cleaning, preparation
Featured Sprayers |
| Tank Capacity |
| Wand Type |
| Brand |
| Tank Material |
| Warranty |
| Nozzles |
Smith Performance™ S103EX Stainless Steel Concrete Sprayer with Viton® Extreme Seals 190468 |
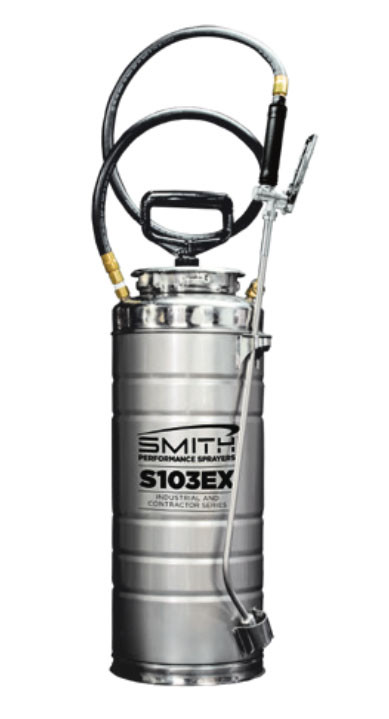
SKU # 190468 Price: $329.99 SMITH™ PERFORMANCE SPRAYERS Built to withstand harsh environments and even harsher chemicals, our industrial construction series is essential for any contractor... |
| 3.5 Gallon |
| 24" Stainless |
| Smith |
| Stainless |
| 1 Year Limited |
| 2 Brass Flat Fans |
Smith Performance™ R301 3-Gallon Concrete Sprayer, Model 190451 |
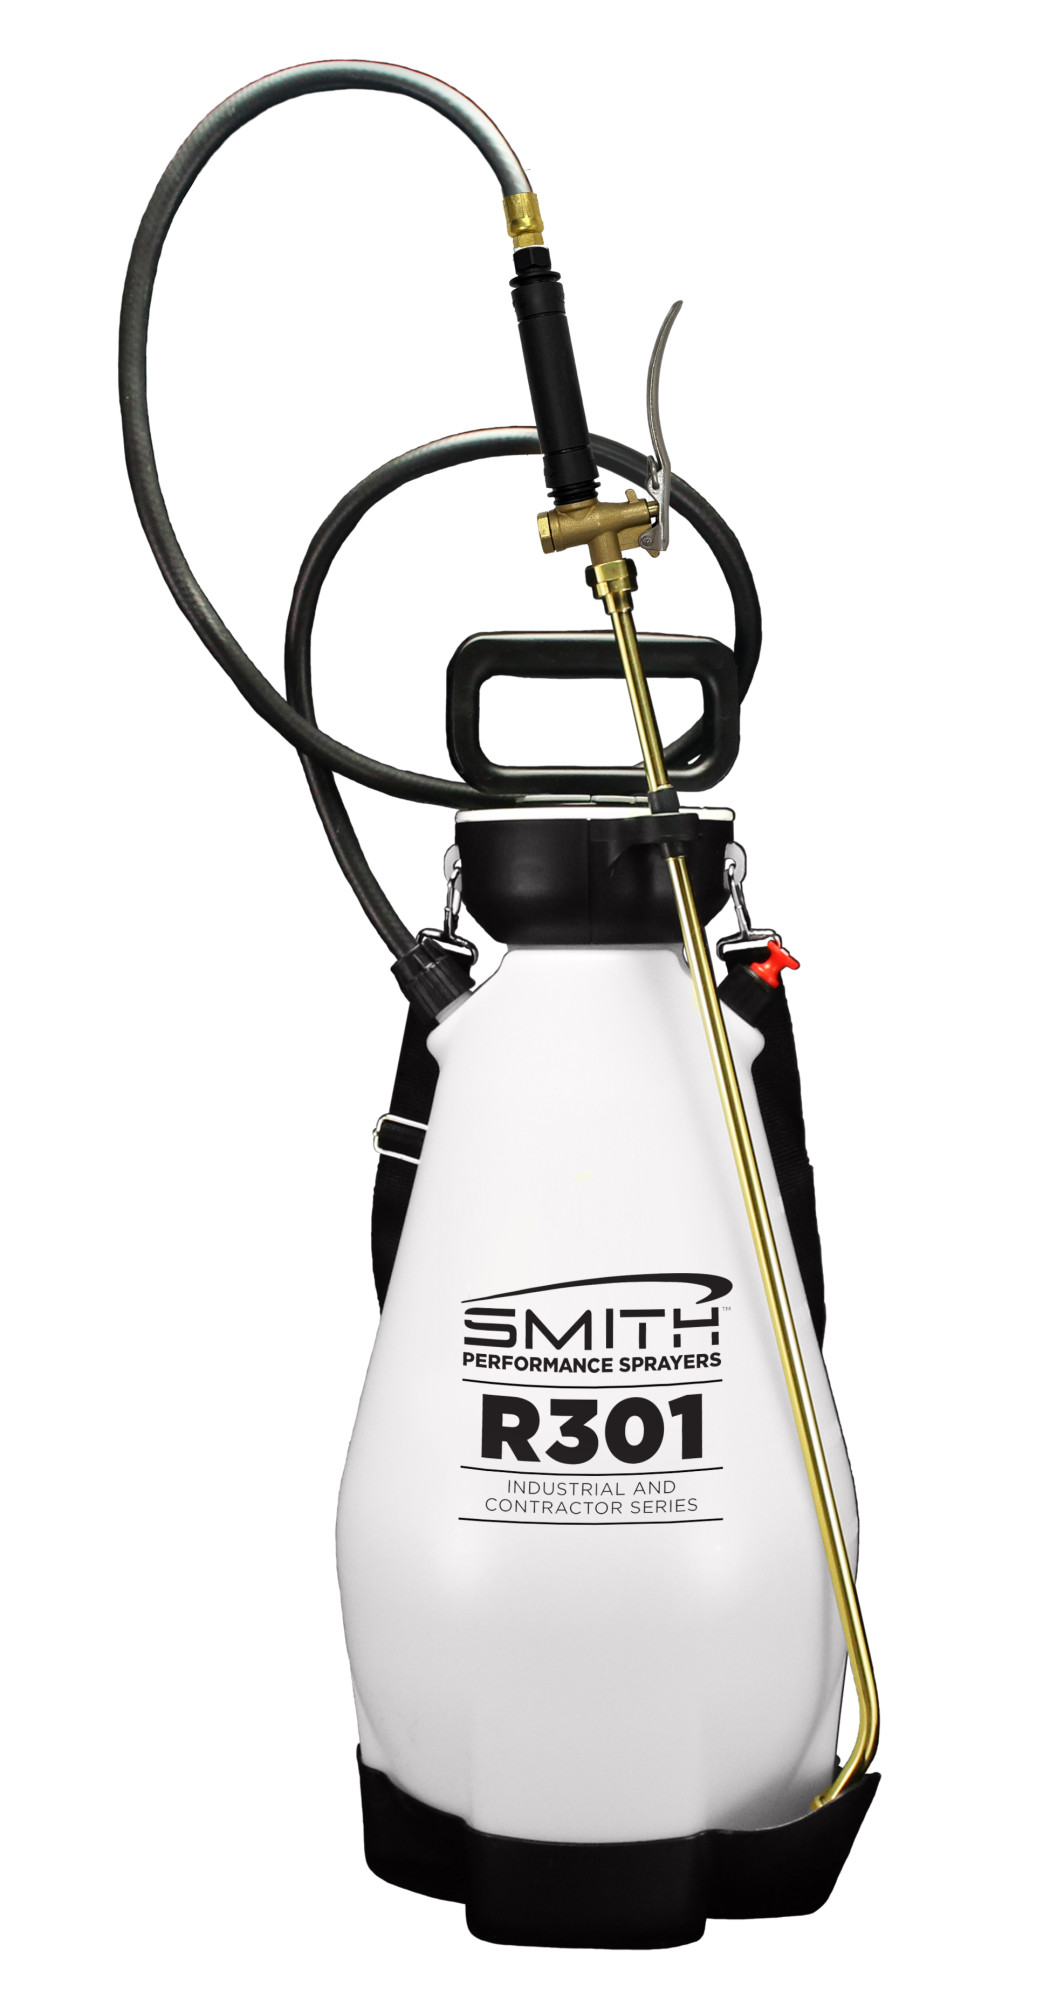
SKU # 190451 Price: $138.99
|
| 3 Gallon |
| 24" Brass |
| Smith |
| Poly |
| 1 Year Limited |
| 2 Brass Flat Fans |
Smith Performance™ 2-Gallon Sprayer Specifically Designed for Acids 190449 |
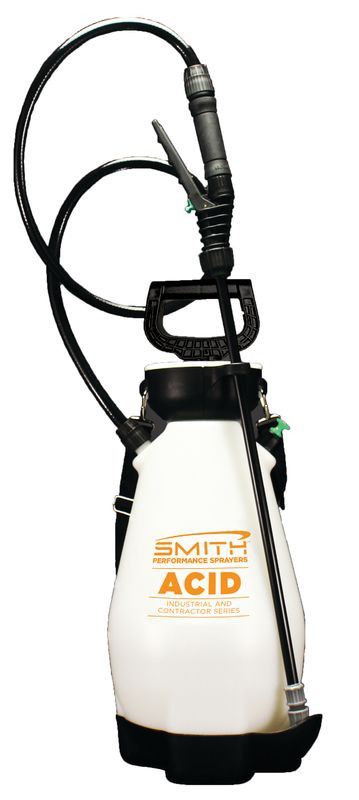
SKU # 190449 Price: $82.99 SMITH™ PERFORMANCE ACID SPRAYERS Built to withstand harsh environments and even harsher chemicals... |
| 2 Gallon |
| 21" Poly |
| Smith |
| Poly |
| 1 Year Limited |
| Poly Adjustable, Low Volume Flat Fan, Medium volume flat fan |
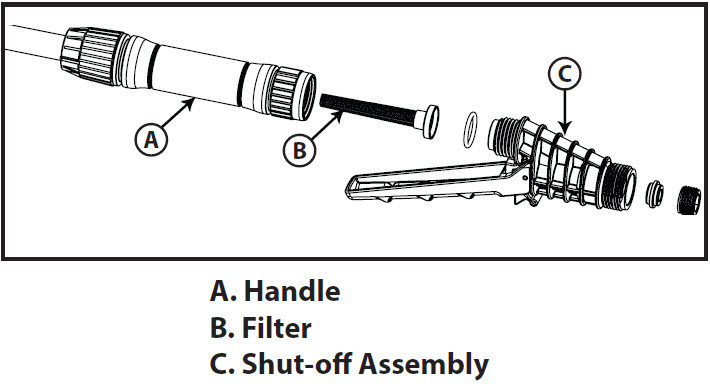
Inspect the pump check valve. Depressurize the sprayer and remove pump from the tank. Locate the check valve at the bottom of the pump (See Figure 3). Make sure there is no dirt or debris underneath the check valve. It can be easily removed, washed and put back into place. If you notice it is damaged or worn, it will need to be replaced by ordering a pump service kit.