View Complete List of Home & Garden Sprayers
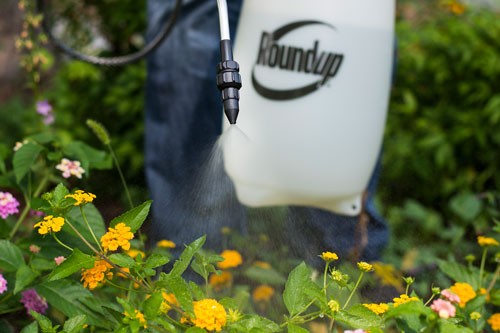
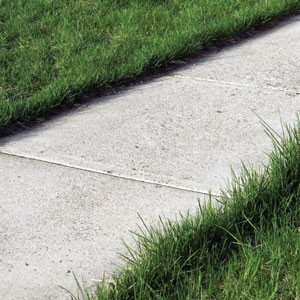
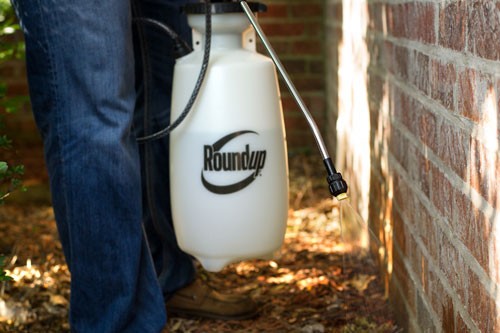
Use Roundup brand or other concentrates to kill weeds and grass. Save $10 per gallon with a reusable sprayer.


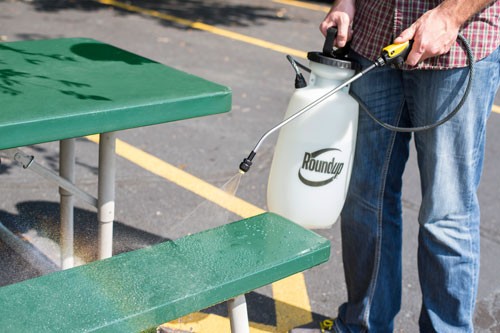
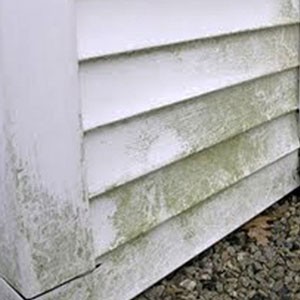
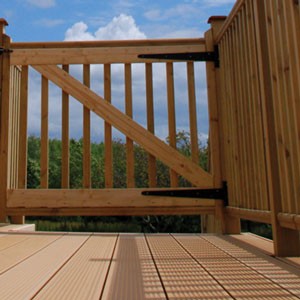
Using water-based cleaners you can wash your deck, car, siding, and even tricycles.
Keep annoying pests away by applying water-based insecticides for ants, roaches, fleas, mosquitoes, and other insects.

Featured Sprayers |
| Tank Capacity |
| Wand Type |
| Brand |
| Tank Material |
| Warranty |
| Nozzles |
Roundup® 2-Gallon Sprayer with 3-in-1 Nozzle and Weed Shield, Model 190487 |
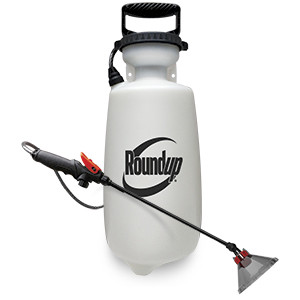
SKU # 190487 Price: $33.99 Roundup® Sprayer with 3-in-1 Nozzle and Weed Shield
|
| Roundup |
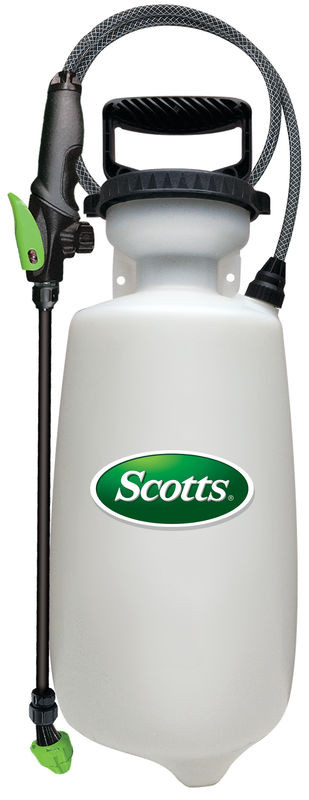
SKU # 190499 Price: $26.99 Scotts® Sprayer with deluxe 3-in-1 Nozzle. The Versatile design is ideal for weed control, insect control, feeding and watering plants, cleaning siding and outdoor furniture... |
| 2 Gallon |
| Poly |
| Scotts |
| Poly |
| 5 Year Limited |
| 3-in-1 (Stream, Cone, Fan) |
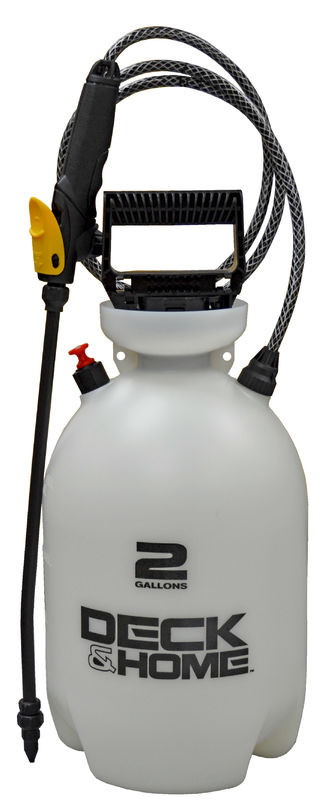
SKU # 190399 Price: $31.99 Smith™ Deck & Home™ Sprayer - 2 gallon capacity
|
| 2 Gallon |
| 15" Poly |
| Deck & Home |
| Poly |
| 1 Year Limited |
| 4 nozzles: poly adjustable, 2 flat fans, and high performance foaming |
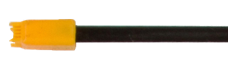
The shut-off lock might be engaged. Squeeze shut-off handle (red, yellow, or green), then slide it back towards the sprayer to disengage the lock. The handle should pop up to stop the spraying. If this does not fix the issue, the shut-off assembly might need to be replaced.*
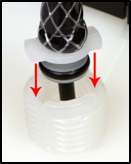
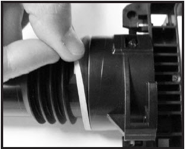
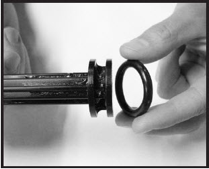
There may be dirt or debris stuck under the pump check valve. Remove the pump from the tank and locate the check valve at the bottom of the pump. It can be easily removed, washed and put back into place. If you notice it is damaged, worn, or misshaped, it will need to be replaced by ordering a pump service kit.*
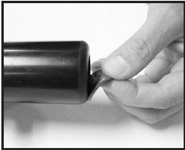
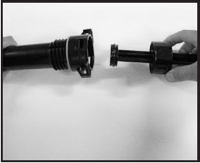
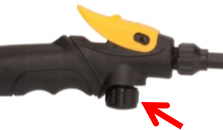
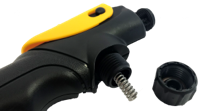
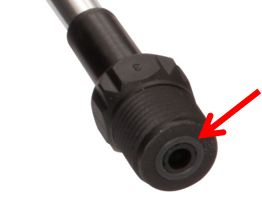
There may be dirt or debris in the shut-off valve, which is located inside the handle. Loosen and remove the black knob on the bottom of the shut-off. You might need a pliers to loosen it initially. Remove the spring and flush water through the opening to remove any blockage that might be present. If this does not fix the issue, the shut-off assembly will need to be replaced.*
Worn or damaged piston seal on pump. Follow the directions under "Servicing Your Backpack Sprayer" to locate the piston seal. It will need to be replaced by ordering the piston seal kit.*